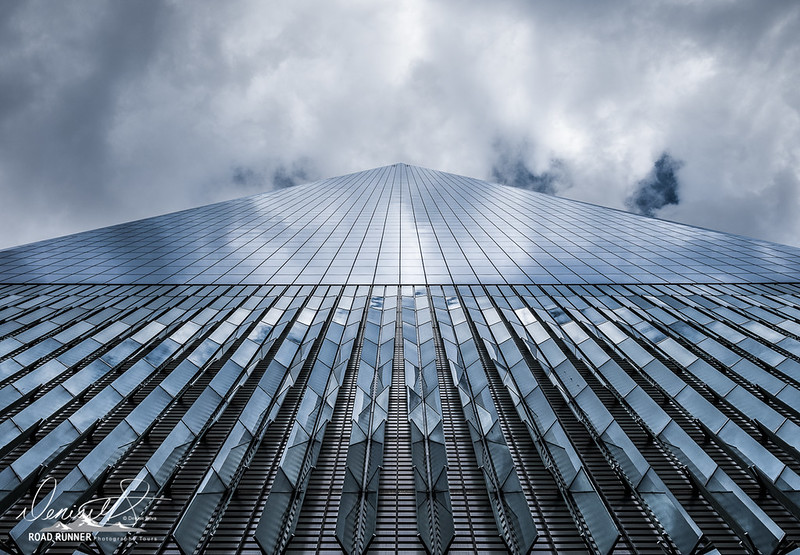
Sky replacement can be a touchy subject. Purists will say “never do it” and artists will say, “it’s your art, do what you want”. I am a bit of both. If you image was taken to document or journal what you experienced at a specific place and specific time, then you shouldn’t make big edits that change what you experienced at the moment. However, if you image was taken to share what you felt and in some cases, hoped to see, when you took the image, and you are not purporting it to be a journalistic view, then by all means, it’s your art, embellish any way you see fit to convey the story you want to tell. So really, it depends and will be different for each image, even if taken on the same trip, at the same time.
With that in mind, let’s talk sky replacement, because we all know that there are times, when we get out to photograph and the sky doesn’t participate. We get all blue or grey or even white sky and we only have the one day or even just one hour to get our shots. Sky replacement isn’t the only answer, it is just one option. You could covert your image to black and white and really lean into the bald sky, by either darkening it down (Ansel style) or brightening up to high key. But if you wanted to enhance the sky features with drama, back in the day, sky replacement required lots of painstaking masking, made even worse by trees with thin branches and tons of leaves. However today, sky replacement is quick and easy, if you have the right post-processing tools. The two primary applications you can use for sky replacement are Adobe Photoshop or Skylum Luminar 4. Both work well for replacing sky, when at least 10% of the image has sky at the top of the image . The real challenge is replacing the sky in an image that also has that sky reflected in water in the foreground.
The most important thing to consider when deciding to change the sky is, are you picking a sky that makes sense for your image. In other words, make sure you consider light direction, light temperature, and white balance. When replacing a blue sky with a blue sky with clouds, try to find a clouded image that starts with a similar tone of blue. If you are new to sky replacement, then it may be easier to replace a midday blue sky with a daytime blue sky with clouds, as opposed to a wild pink sunset. This isn’t impossible, but you will have to change the tone of the original image to match the new sky. Doable, but takes practice!
If you are interested in learning how to use Photoshop or Luminar 4 to replace skies, check out my videos where I discuss my thought process and demonstrate the various tools:
- Changing Skies in Photoshop CC and Luminar
- Replacing Reflected Sky (Photoshop)
- Luminar Sky Replacement
- Changing Skies (Photoshops, layers/masks (the old way)
![]()

