Do you get home from a shoot and wonder…
- Why doesn’t it look like what I saw?
- I took that?
- What can I do with that nasty pic?
- I missed it! I can’t believe I missed it and now I am home.
- I should delete the RAW image, because I can’t fix it.
I think we all have had this moment… probably more than once. This blog is about that moment and demonstrates that you can fix just about anything.
Here is the starting RAW image. This was shot with Sony NEX 5R, converted (by Life Pixel) to digital infrared. (The techniques discussed below can be done to full color images as well.)
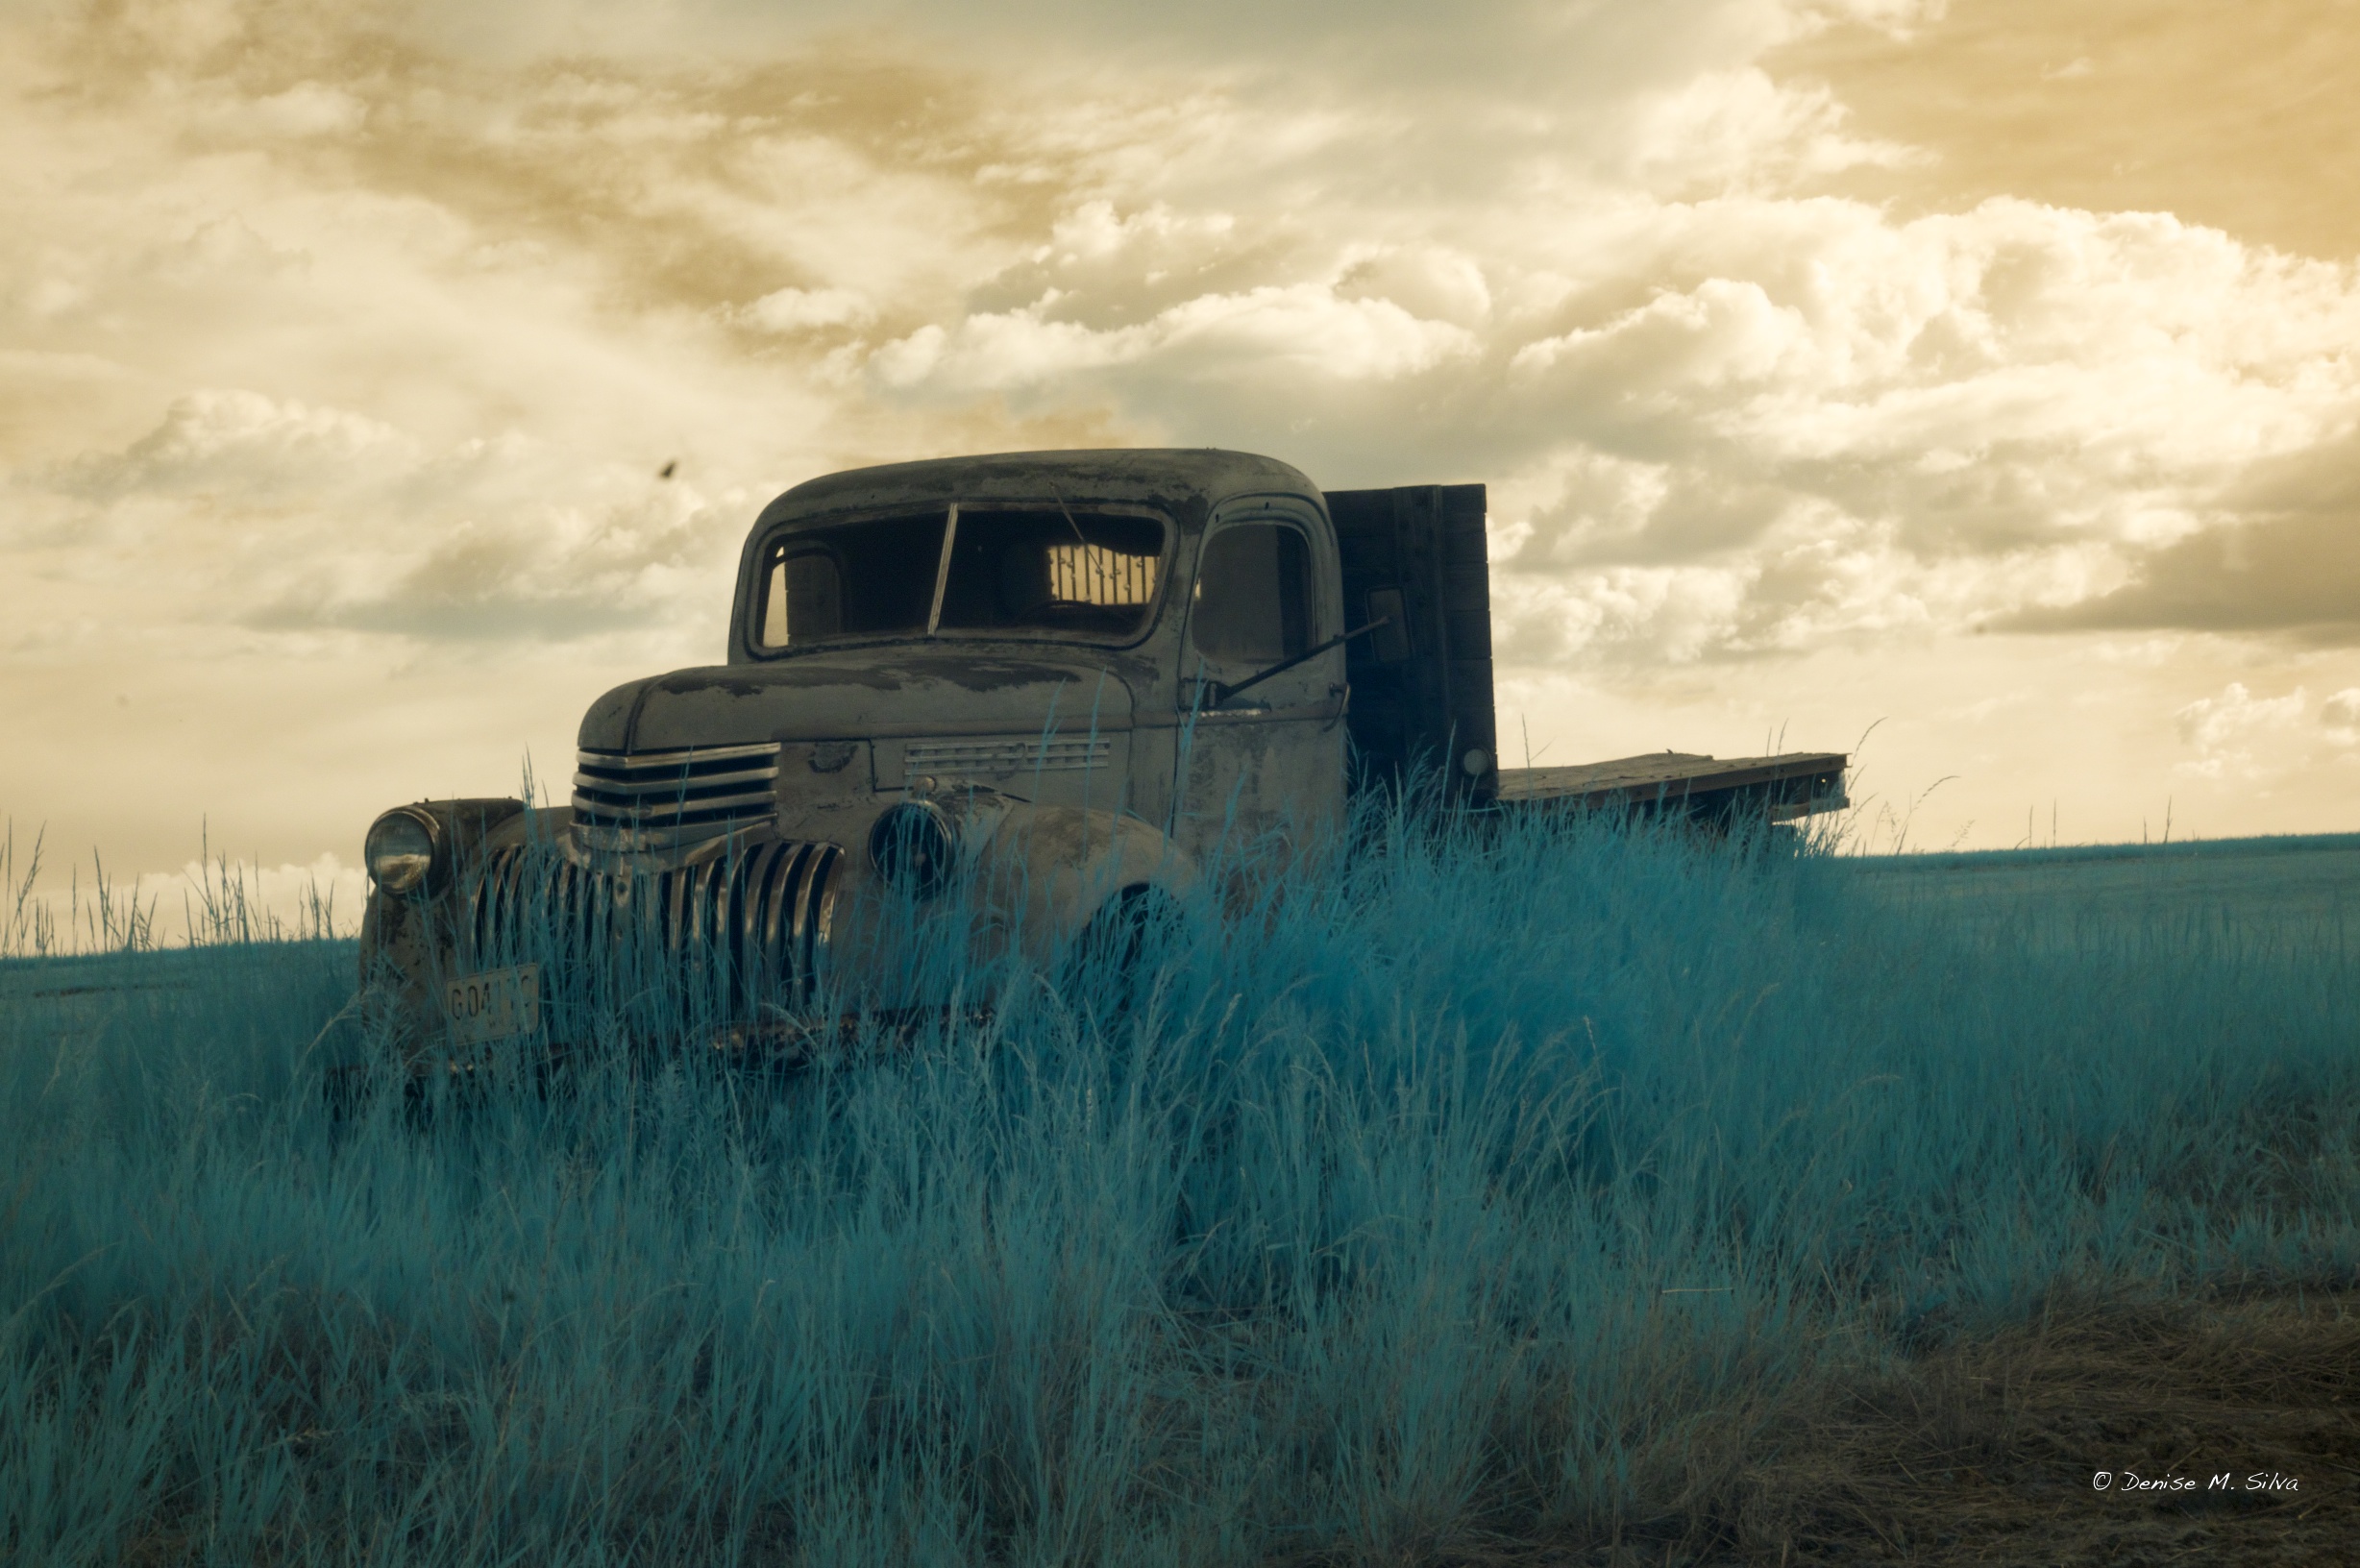
My initial thoughts:
- The image exposed improperly (foreground is much too dark).
- There are a number of dust spots.
- The horizon is not straight (shot handheld, must have been standing on a slant 😉 )
- The clouds look blown out.
- The truck is a bit to centered.
- The image is faux color as a result of my Super Color infrared conversion.
There may even be more, but these are a good start.
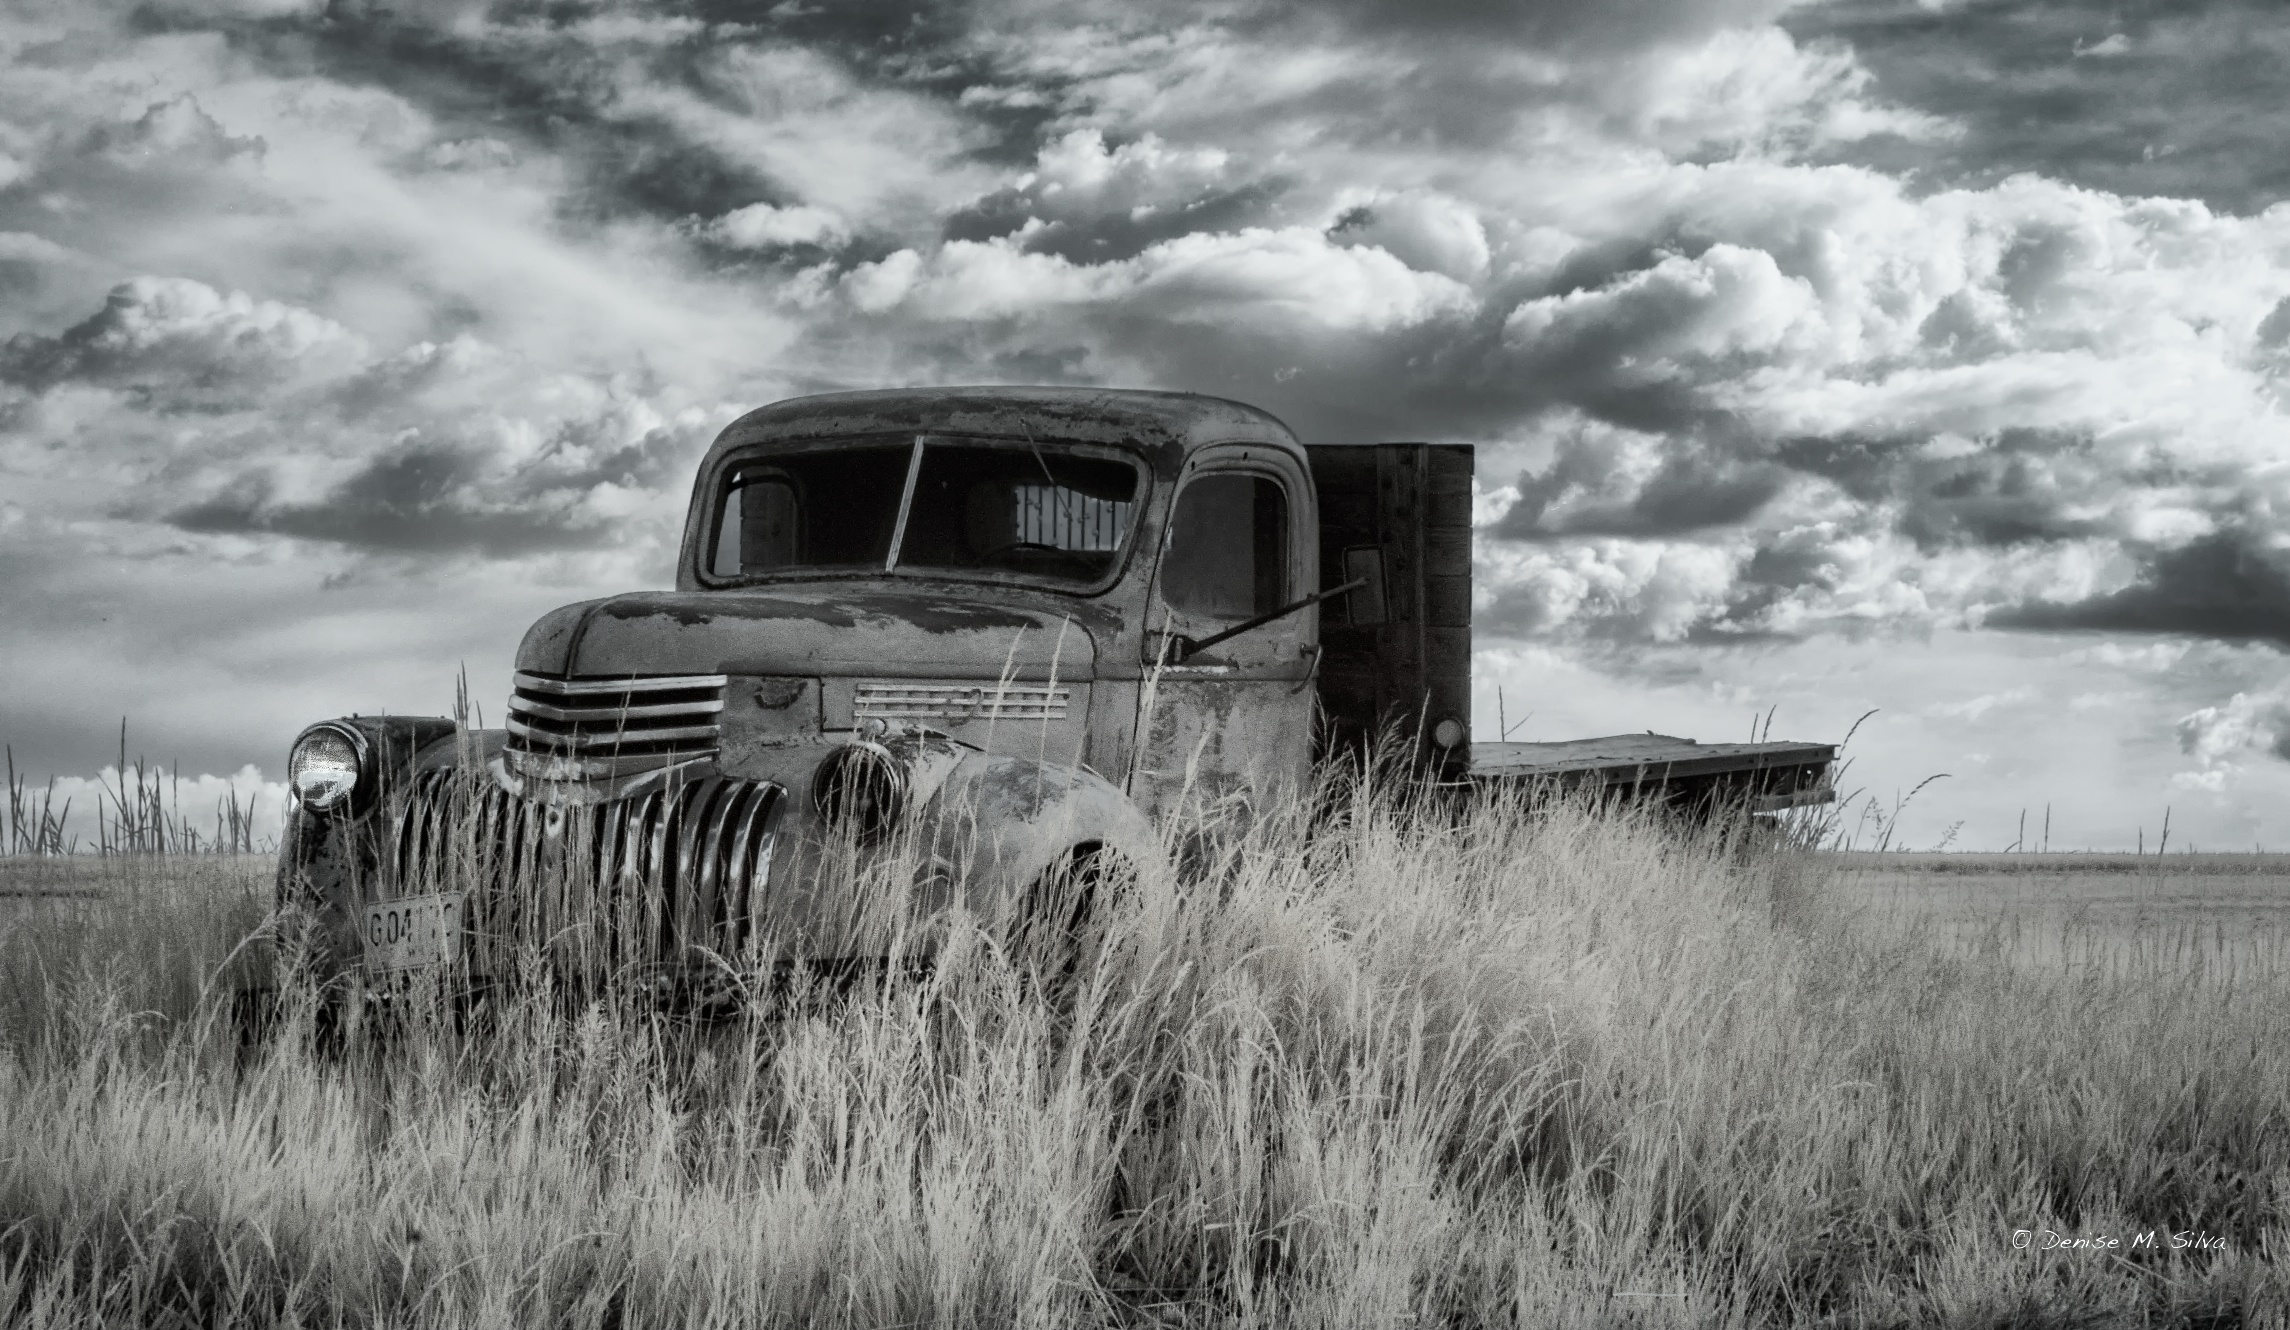
Here is the final image. See below for a discussion of the fixes and how I made them.
I work in Photoshop CS 6 and each of these adjustments were incorporated using layers and masks.
- To fix the exposure I used Topaz Adjust 5. Topaz Adjust has proven to the most effective tool for making this correction. The settings will vary depending on your image, but here are the ones I use.
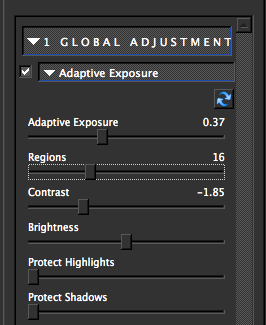 The key is that Adaptive Exposure is to the “right” of Regions, which is to the “right” of Contrast. These are the only adjustments in I made to correct my overall exposure. Just hit “ok”.
 - To fix the dust spots, I used the Spot Healing tool in Photoshop. This tool is brilliant for dust!
 . Just move your cursor over the spot and left click.
 - To fix the horizon… well, this can be done in Aperture, Lightroom, Camera Raw or Photoshop. I did it in Photoshop. To find the tool, select the crop tool and then in the Options bar look for this image:
 Starting from the left side of the horizon, left click and drag a line along the horizon (the area that is supposed to be straight), then unclick and hit enter. You might need to crop some after the image is straight, if it hasn’t already cropped for you.
 - To fix the highlights in the clouds, I used NIK Color Efex Pro 4, Graduated Neutral Density Filter. This filter is invaluable, as it allows you to adjust the upper exposure, the lower exposure, the blend of the two, and the vertical shift of the exposure correction.
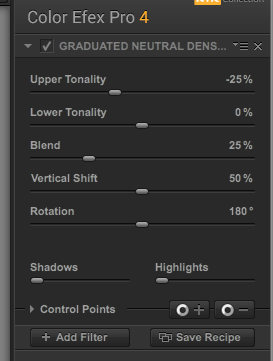 Depending on the image, you can also rotate the correction from a horizontal line to vertical (left or right) by using the rotation slider. This comes in handy when you have a subject (say a barn) filling one side of the frame and sky filling the other.
 - To fix the position of the truck, I used Photoshop CS6, content aware. First I increased the Canvas size (Image, Canvas Size)
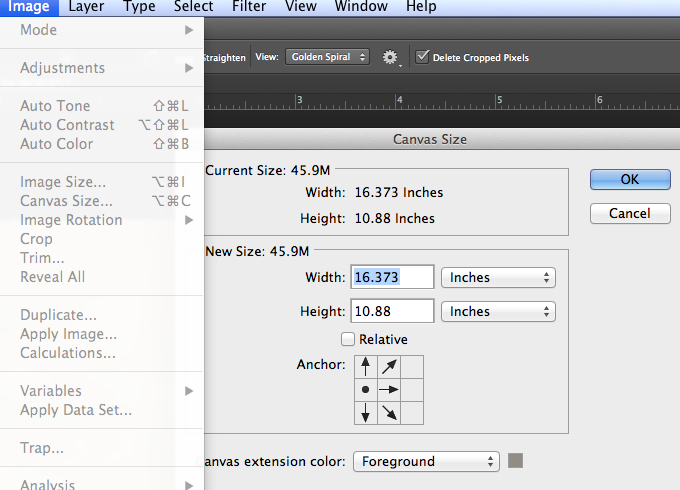 and then Filled with Content Aware (Edit, Fill, Content Aware).
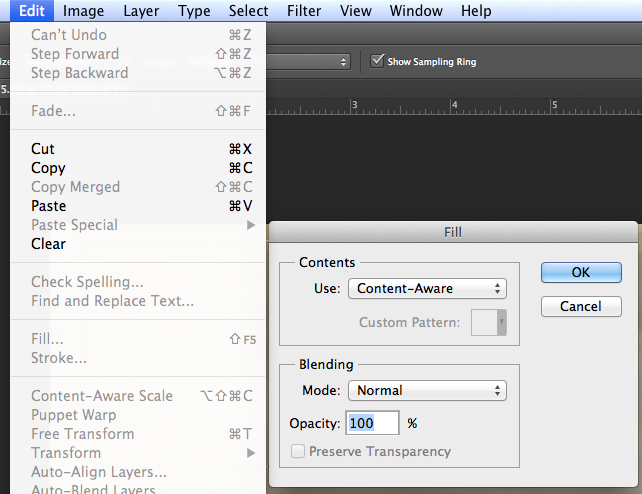
- To fix the faux color, I used NIK Silver Efex Pro 2 to make the image black and white, and then changed the opacity of the layer from 100% to 96% to get a toning effect.
- In addition to these changes, I also enhanced the image by adding contrast, detail, and selective highlights. Most of these adjustments were either done with Photoshop adjustments, NIK Color Efex Pro 4 or Viveza 2.
Imagery is subjective, but to me, the resulting image is superior to the original. To some extent, I think it may be hard to believe they were once the same image, but in fact they were.
As I have said many times, do not delete images that may have potential. Although you may not know how to fix it today, with practice you will learn the necessary skills.
If you are interested in improving your photo processing skills, I teach both individual and group workshops. These workshops can be specifically tailored to your needs and skill level.
![]()