Dust spots and artifacts are my pet peeve… cannot stand them because they are so easy to fix. However, they can be hard to find! They are definitely the bane of any landscape photographer’s existence, but they can show up in any image and they never show up until you have published or printed an image! It is like magic. As soon as your friends, family, and world can see the image, the dust spots/artifacts miraculously appears and of course, you are at best, the second person to see it. :-/
Even those folks with great eyesight miss them. But here is where we can look to technology for a solution. Lightroom Develop and Photoshop Camera Raw both have dust spot removal tools. But for real success, you have to “visualize spots” to get the most of these tools. Let’s take a look at how this one little checkbox can make a world of difference.
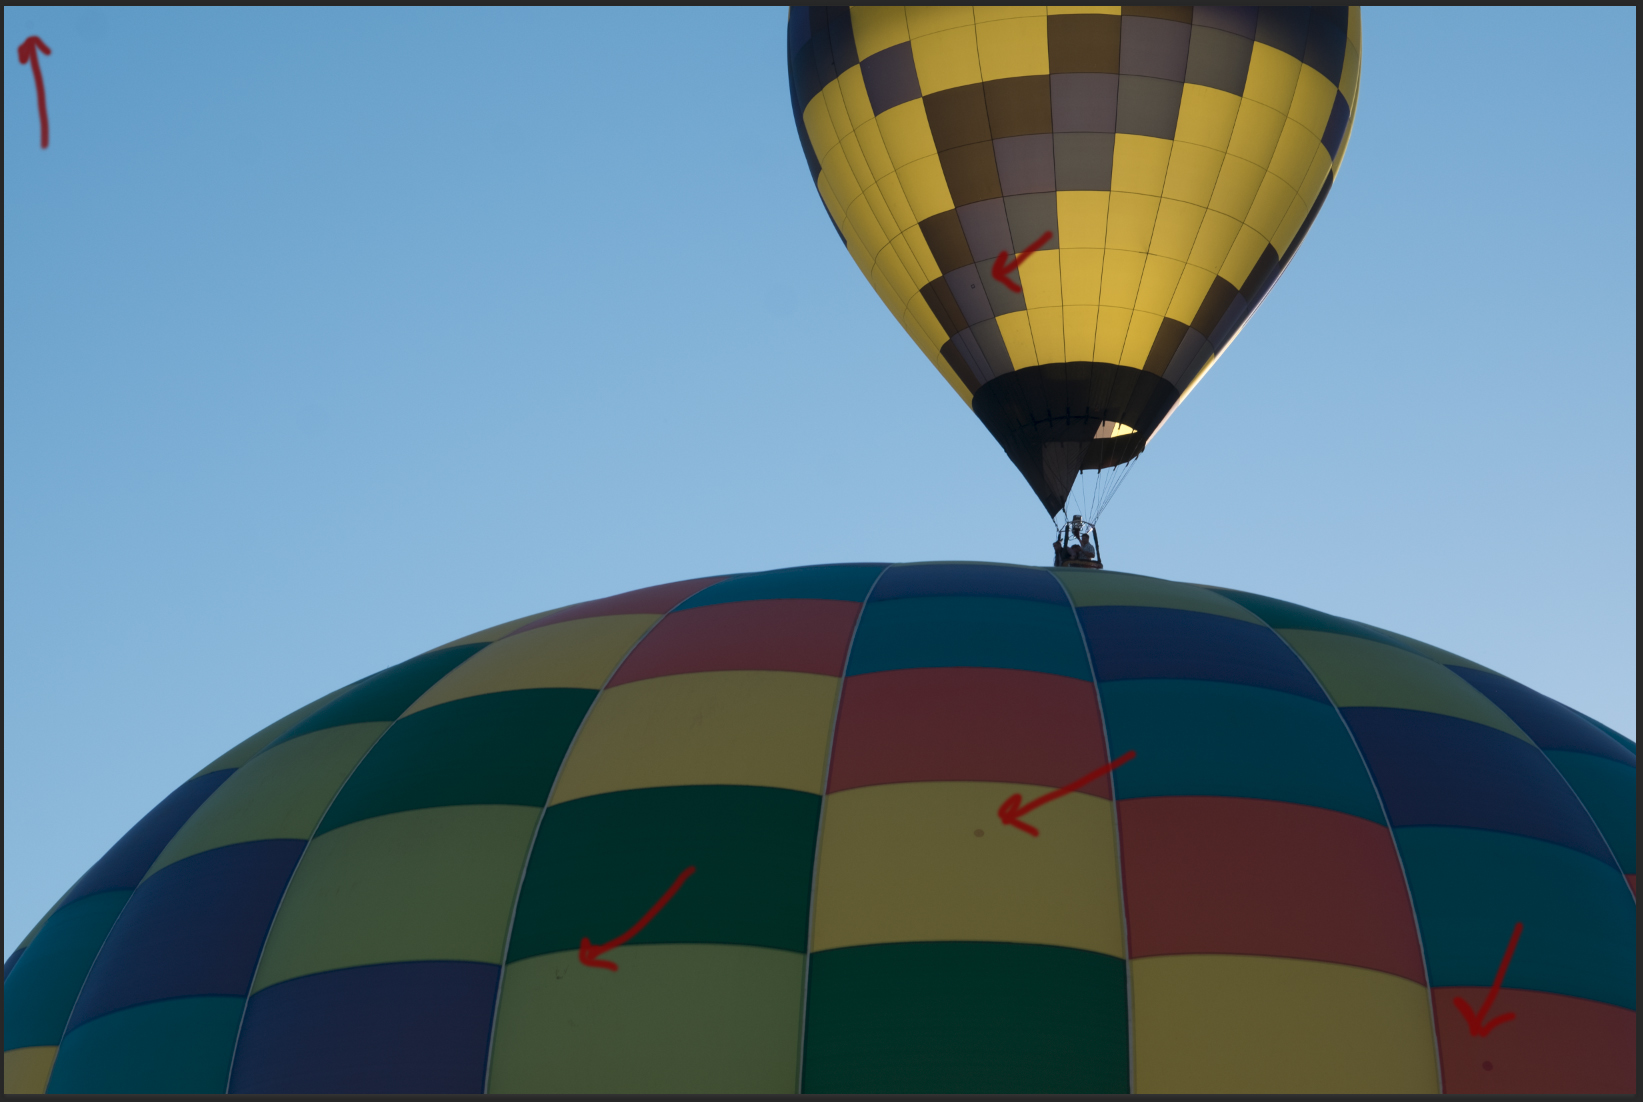
Take this image… unprocessed, right out of the camera. We can see some spots (red arrows) right off the bat. So those can be easily fixed. But the real question will be…. have we missed any? So at a glance, we would like to say we haven’t, but how can we be sure?
As I mentioned, the best tools for the identification of dust spots/artifacts that I have found are the spot removal tools in Lightroom Develop (the icon shown to the right) , and in Photoshop Camera Raw (icon shown to the right).
 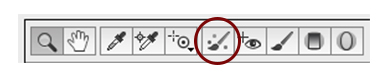 As these programs are the same, these spot removal tools are also the same. The only difference is the icon used to access them.
Now the tools themselves are great and do an amazing job (most of the time) of identifying the pixels from which to clone the dust spot. But the true beauty of these tools is their ability to identify spots and artifacts in images that we simply cannot see with the naked eye.
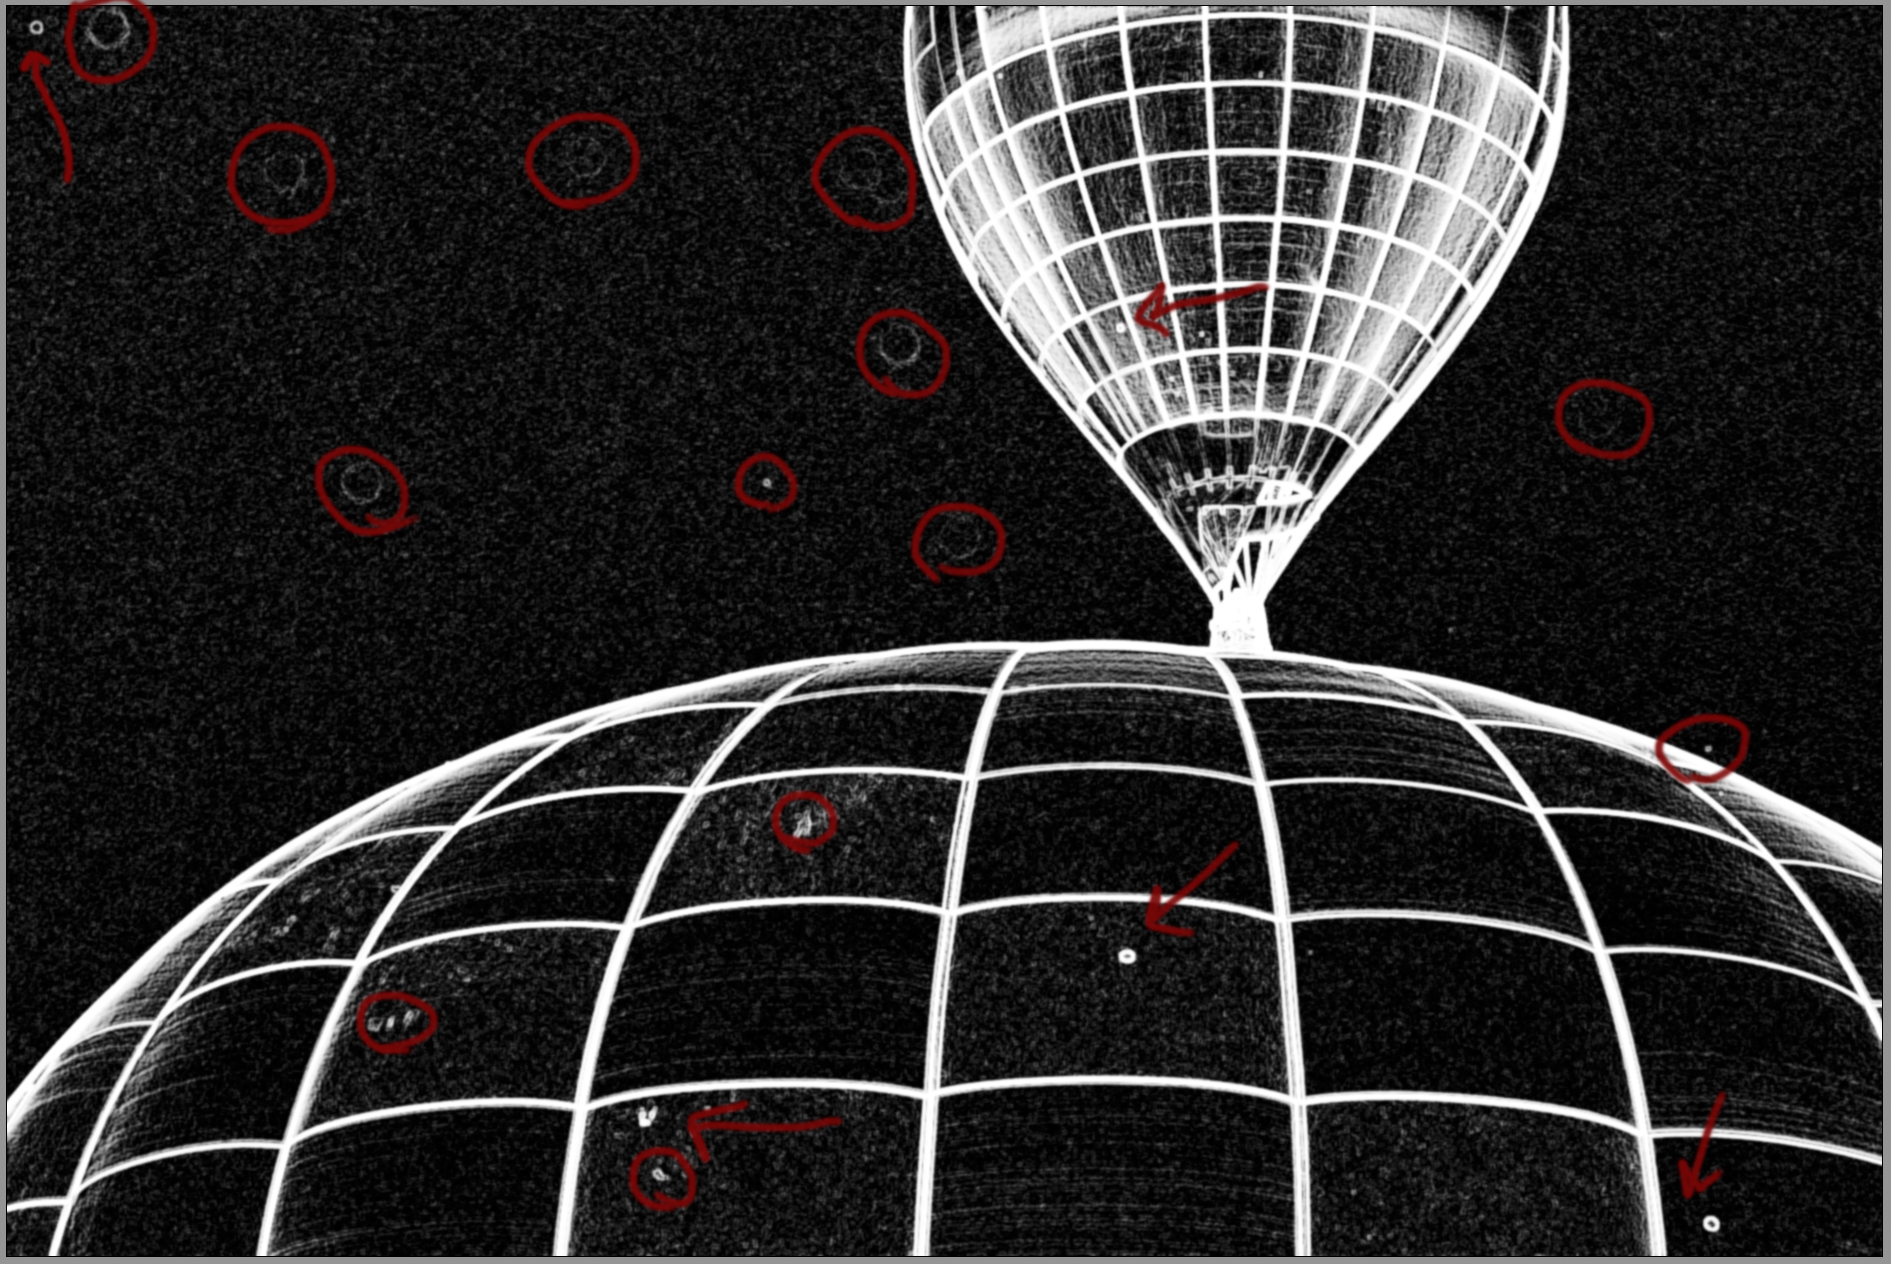
Here is how this works. Take the image noted above, we identified 5 dust spots/artifacts that need correction. Let’s see what the spot removal tool finds. To make this a bit easier, I have drawn arrows to re-identify the spots we found in the above image and then circled the additional dust spots/artifacts identified by the software. Take a minute to look back at the color image. Those spots in the sky do not stand out and could easily be missed if it wasn’t for the spot removal tool. So how do we get this masked image, show below? In both Lightroom Develop and Photoshop Camera Raw spot removal tools, there is a checkbox that says “visualize spots”.
In Lightroom, the Visualize Spots can be found to the bottom left of the center panel:  .
.
In Photoshop, the Visualize Spots can be found at the bottom of the right hand panel: 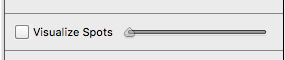
To emphasize the spots, check the box and then drag the slider bar to the right. This tool will even identify spots in the middle of clouds! In fact, it will identify spots anywhere in an image. Dust spots stand right out, as they have distinct round edges. Notice the dust spots in the sky above, they are hollow round spots and very noticeable. Now you can use the cloning feature (in both programs) to clone out the dust spots.

In a few minutes, hundreds (which can happen) of dust spots/artifacts can be removed!

Now, you can finish processing the image! I suggest removing dust spots first, so that whatever processing you do to the image doesn’t exaggerate or further emphasize spots that need to be removed. It is simply easier to fix the spots before their edges are more pronounced with contrast or clarity.
For this image, here is the final result:

Happy Holidays and Creative New Year!!