In my last blog, I wrote about using Iridient Developer to process Fuji images. At the end of that experiment, I decided that I still preferred using Lightroom Develop or Adobe Camera Raw to process my images. So for this blog, I decided to try Iridient Transformer to change my Fuji files to DNG files.
Transformer allows you to apply some basic processes, to your specifications and then save the image as a DNG. Here are the settings I used (note the only difference in these two screenshots is that on one, the RAW Process is set to More Detail and on the other it is set to Smoother (these are the only two options):
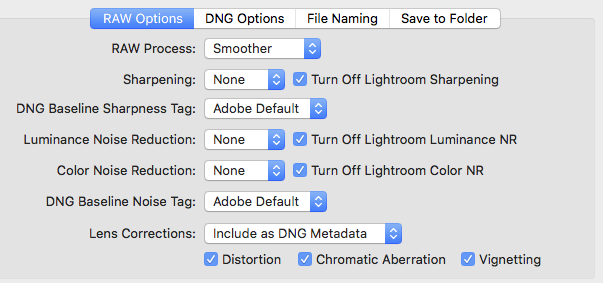
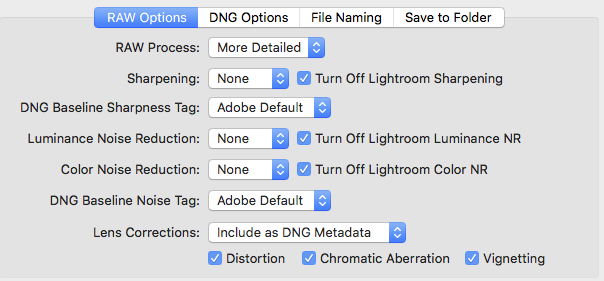
The other tabs have options for retaining metadata from the RAW to the DNG and how to save.
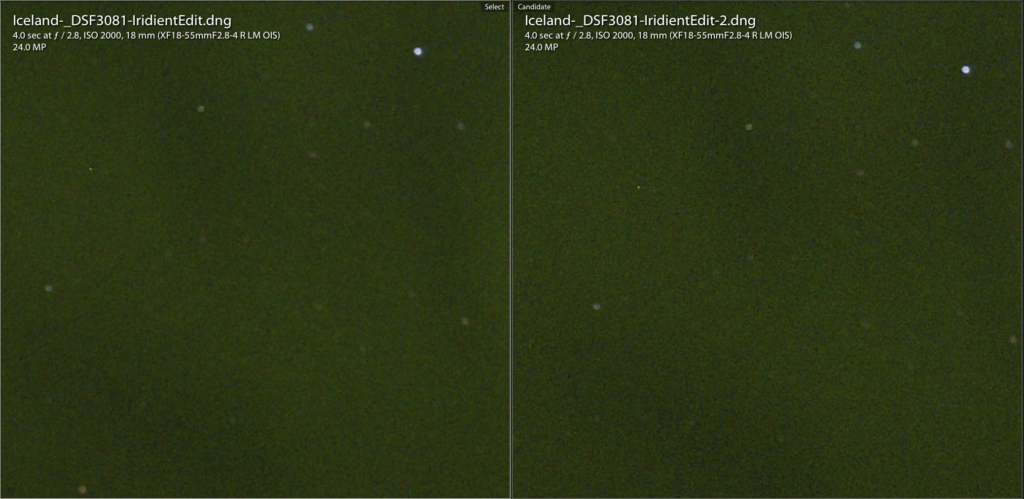
Here is an example of Smoother (IridientEdit.dng) and More Detailed (IridientEdit-2.dng): Magnification is 2:1
Neither image has been processed at this point, as the first step in the suggested workflow is to send through Transformer. My next step was to use Lightroom Develop to process the image. I used Lightroom to process so that I could easily sync the adjustments between the files.
I used the following settings:
Basic Panel:
- Exposure +1.20
- Shadows -36
- Whites +25
- Blacks -28
- Clarity +12
- Vibrance +24
Detail Panel:
- Sharpening +30
- Masking +71
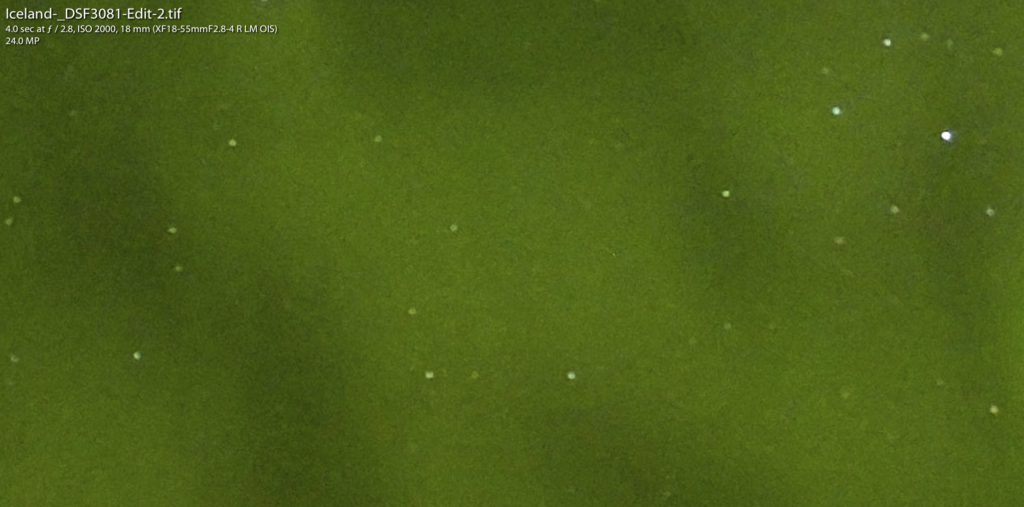
I then “synced” these adjustments between the files (IridientEdit.dng (smoother); IridientEdit-2.dng (more detailed); RAF (Fuji RAW file)): Magnification is 2:1

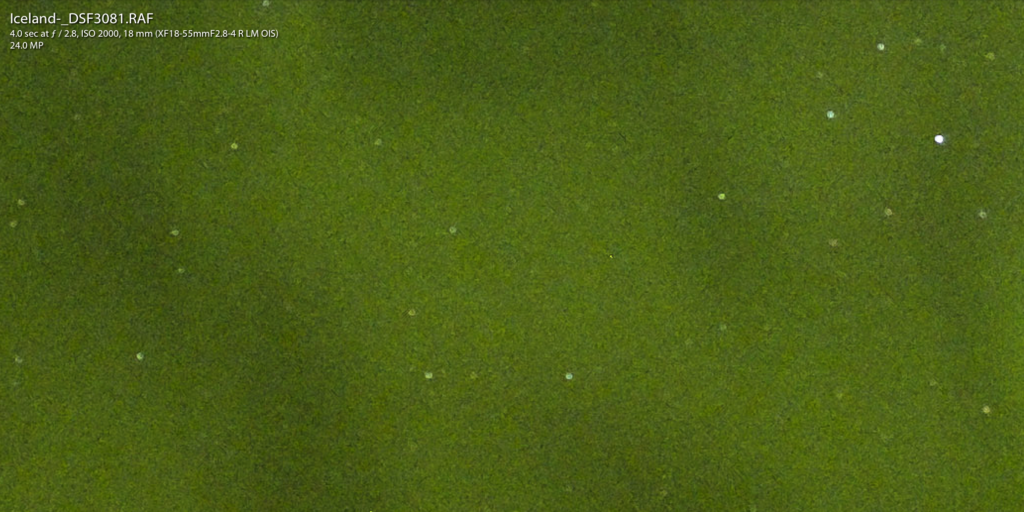
For this next image, I took the “synced” RAF file and ran it through MacPhun Noiseless Pro, my favorite program for denoising images. Settings were “Balanced at +66.
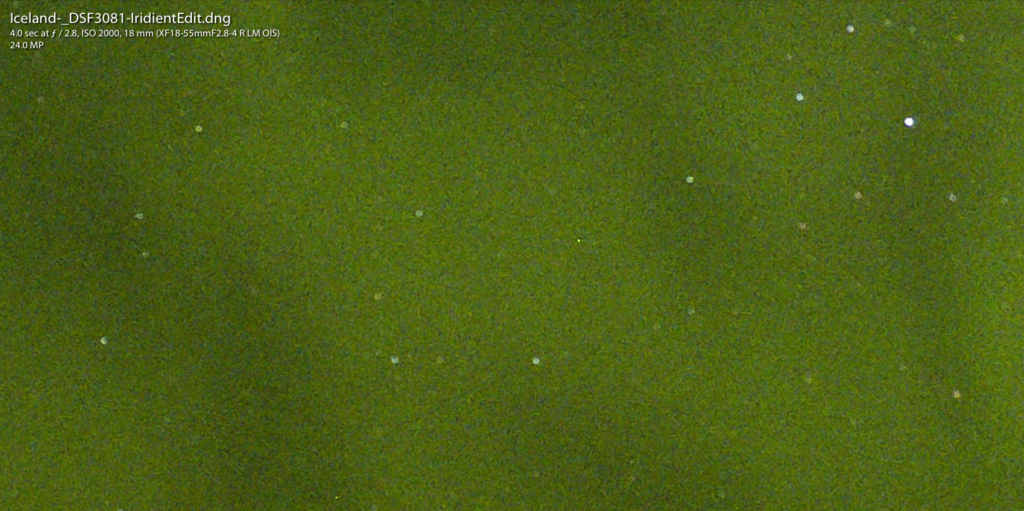
For a better perspective on the final images, there are the images not zoomed:
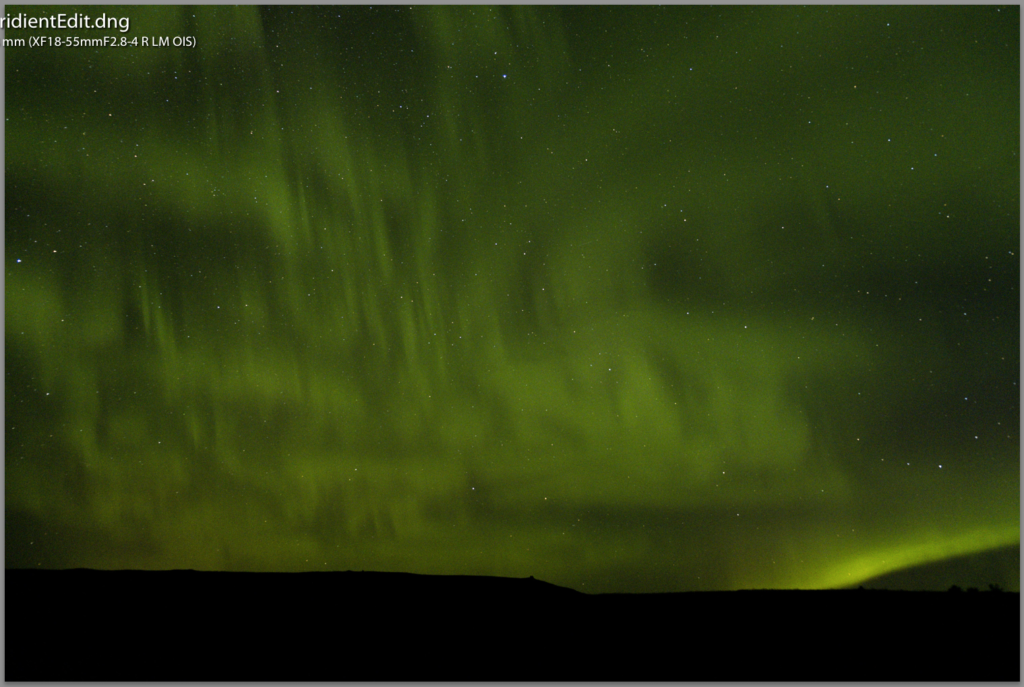

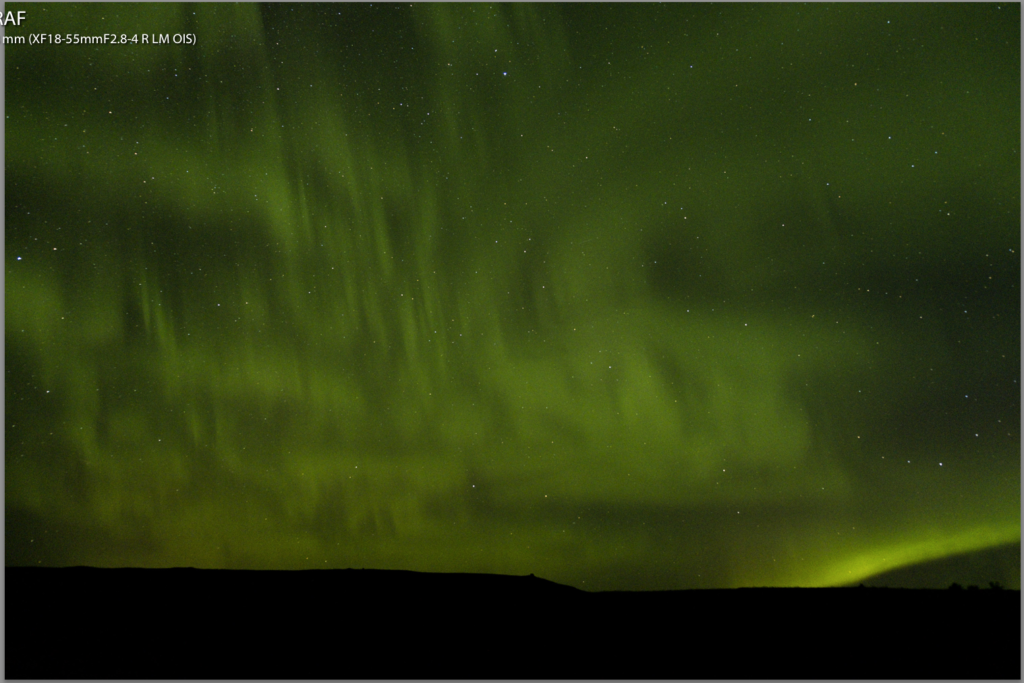
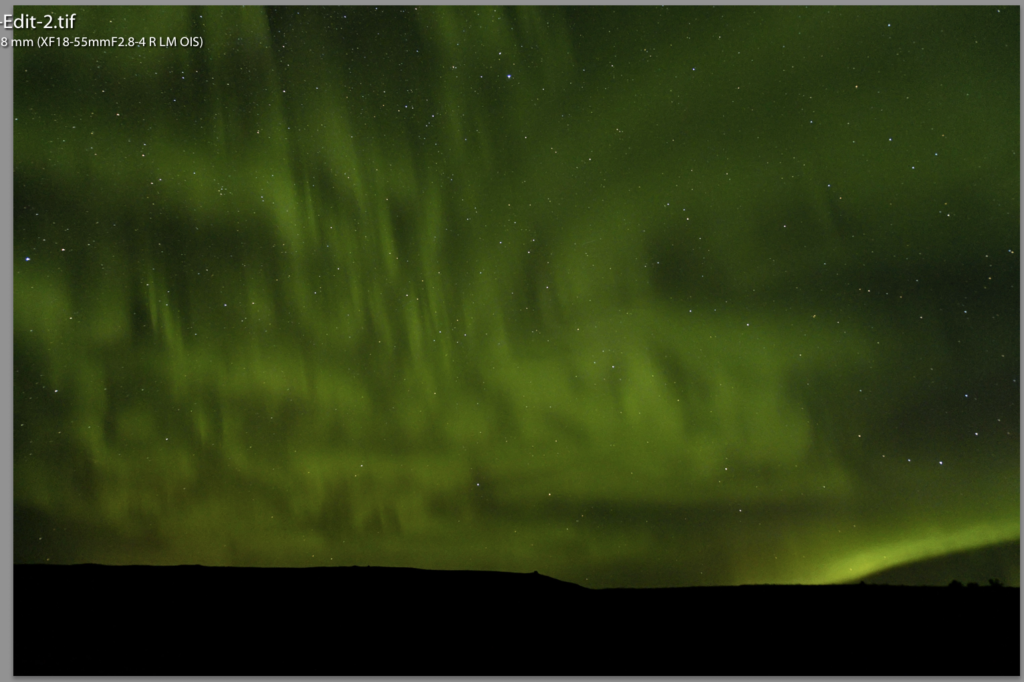
I am interested to know which you all prefer. Please use the comments to reply, indicating Smoother, More Detailed, RAF, or RAF with MacPhun. I recognize that not everyone looking at this is shooting Fuji, but I still value your thoughts. Thank you in advance!
![]()
Georgette Grossman
29 Oct 2017Sadly, the one with the most light detail in the sky is MacPhun for me (although it looks soft in the zoom). I work on a Window’s PC.
Second is Iridient Transformer – More Detailed Setting with Lightroom Adjustments Synced. When you sharpened in LR, were the sharpening and masking sliders the only ones you used? No Radius or Detail sliders? No noise reduction using Luminance and Color sliders?
Then again, I have never seen an aurora “up close and personal”!!
Denise Silva
29 Oct 2017No other sliders were used. So Radius and Detail were at default settings and no noise reduction in LR. Just MacPhun. I agree, MacPhun and then IT, Detail with LR Adjustments. So it still begs the question… Do I need to bother with IT?
Georgette Grossman
30 Oct 2017Not sure! I wonder if we have to use it on EVERY image or just those high ISO, low light ones?
Denise Silva
1 Nov 2017I had a similar thought… that there would be a time and a place.