Today I spent some time testing out potential new workflows for processing images. As many folks know, I love Photoshop and Camera Raw for processing my images. I feel these tools give me the most option from start to finish… including basic edits, cloning and potentially layering images. I have a very set workflow as well. However, I am willing to change if I see real difference and benefit. Here is my basic workflow:
- I load images onto my drives, via Lightroom import. At the same time, organizing my images by date, state/location, event.
- When I go to process an image, I take that image into Photoshop and then work within Camera Raw/Photoshop layers as needed.
- Saving the image back to Lightroom.
- Lastly, I export from Lightroom with my watermark to share.
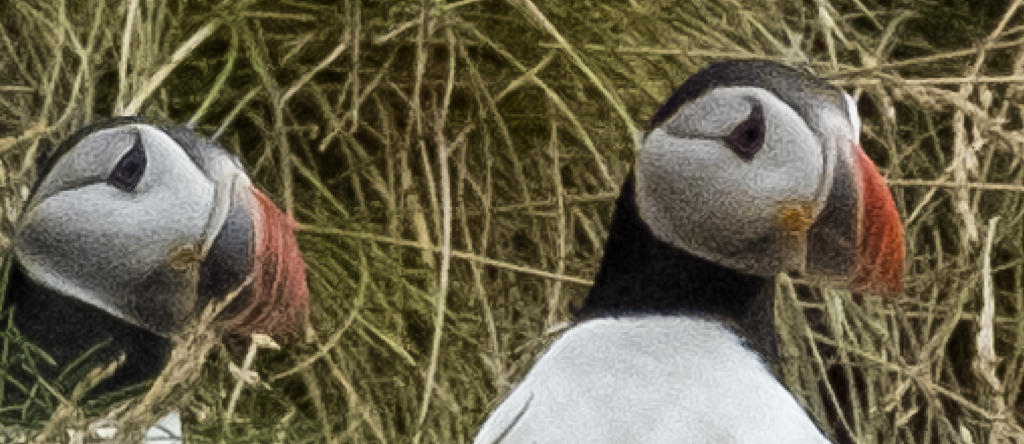
There has been much talk about Adobe (LR/PS) not being the best processing tools for Fuji RAW files. There is discussion of “wormies” or “squigglies” which I do see when sharpening. The details on processing this image: Clarity +13, Highlights +18, Vibrance +28, Saturation +11, Contrast +18, Color Luminance Green -20 and Orange +18. Sharpening +33, Masking 0, Noise Reduction 0. The key thing here is that I did not use the masking feature in Camera Raw, so 100% of all of the pixels have been sharpened 33%.
Here is what they look like:
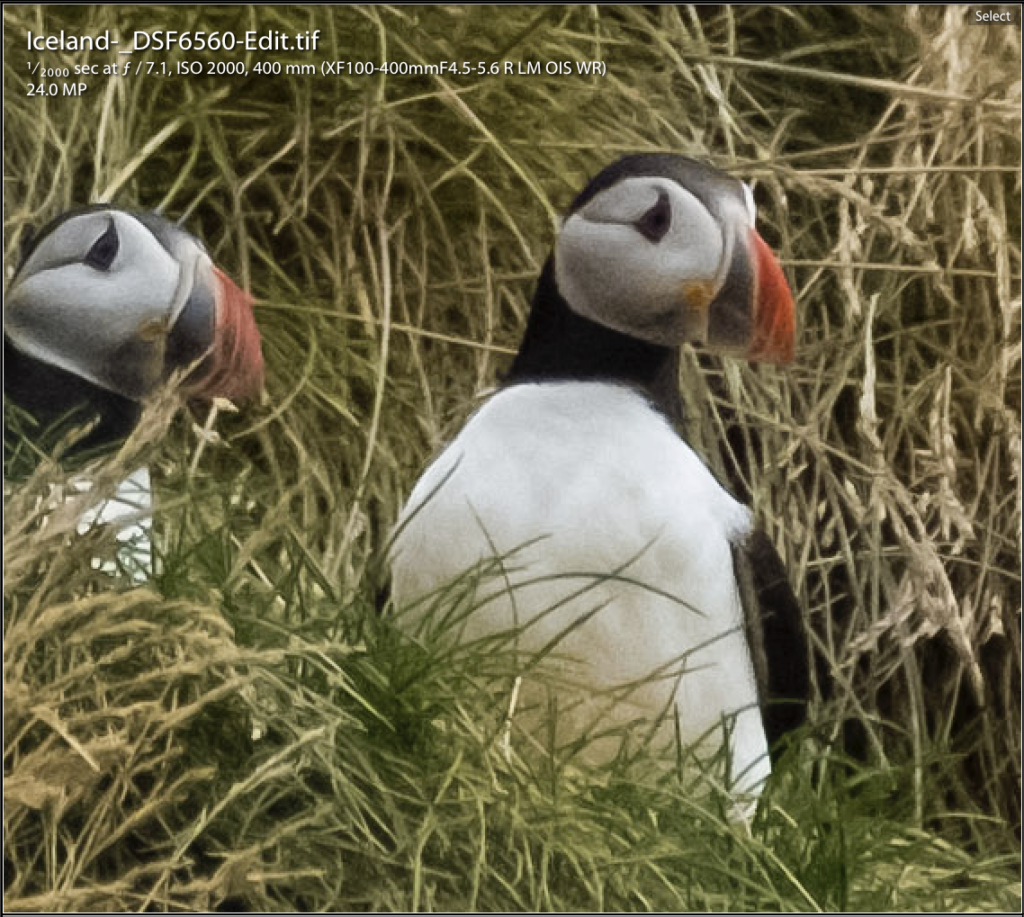
So my next test was to process the image like I normally do, using Photoshop. I used all of the same settings as noted above, but I also used the masking feature in Sharpening and did some minor Noise Reduction as follows:
For Sharpening, Sharpening was set to +33, Masking 100 (this means I only masked the edges, instead of every pixel). For Noise Reduction, Luminance +17, Luminance Detail +50, Luminance Contrast +8, Color Noise +16, Color Detail +50.
Here is the result:
Knowing that the “wormies” show up when the image is sharpened and hearing that Iridient Developer is supposed to be superior to Photoshop and Lightroom for Fuji RAW, I decided to test out a couple of workflows.
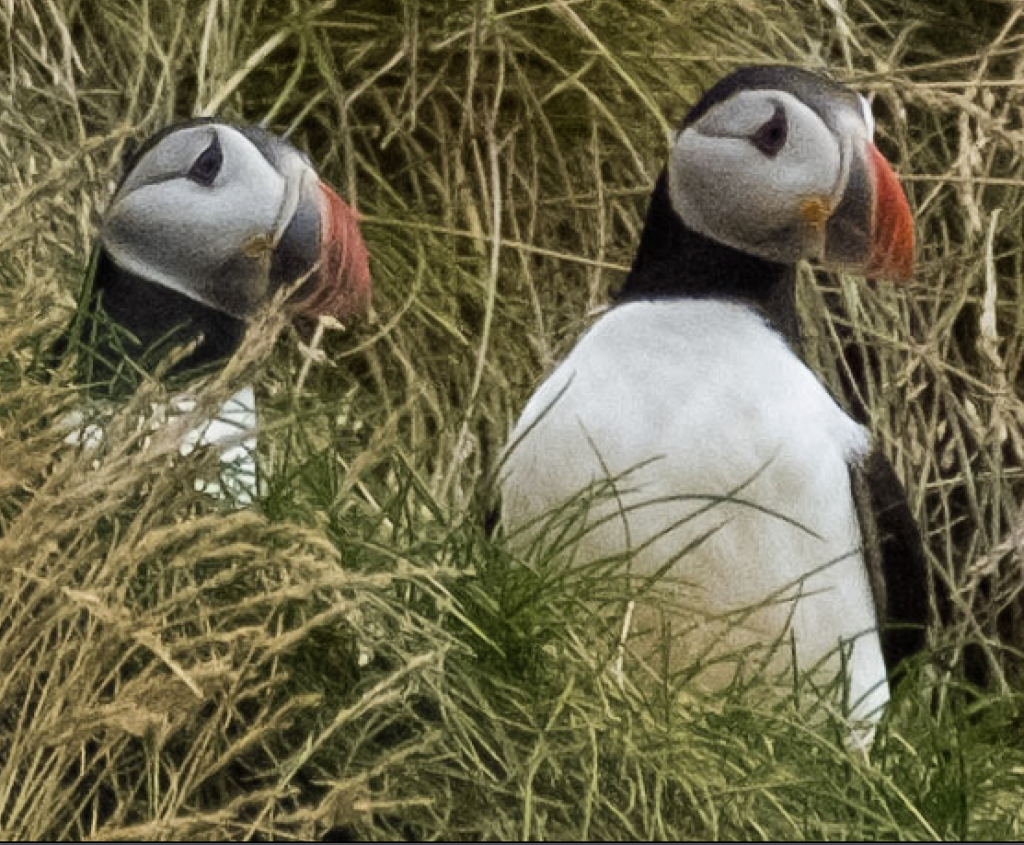
First, I processed my image, with all of the above settings, but NO sharpening and No noise reduction in Camera Raw. I decided I would use Iridient Developer in the final stage of process solely for sharpening the image. For sharpening I used the following Iridient Developer settings: High Pass, Radius +.60, Amount +70 Standard, Edge Masking +92. Of all of the Iridient Developer sharpening settings, I have found High Pass to be the most pleasing to me.
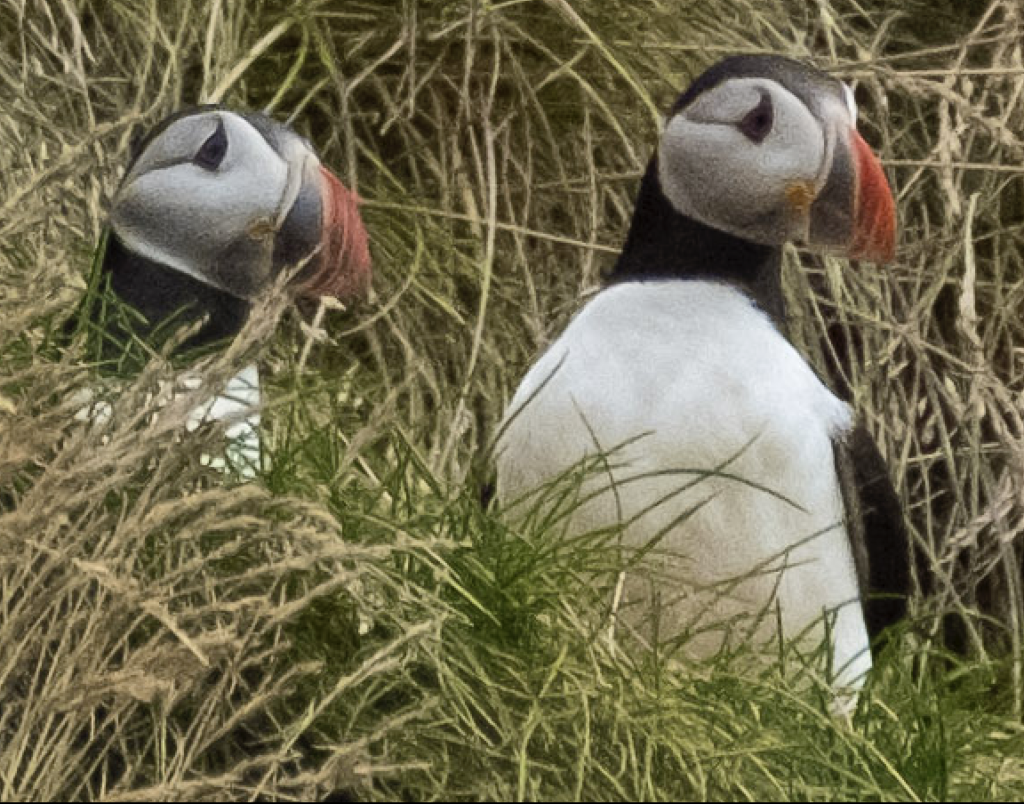
Lastly, I decided to try using Iridient Developer to process and sharpen the image. This time, I mirrored the Camera Raw adjustments in Iridient Developer and used the Iridient Developer sharpening immediately above. To me the puffins look very similar and the greens may be a bit brighter, but that is because Iridient Developer does NOT have Color Channel Hue/Saturation/Luminance, that can be found in Camera Raw, so I wasn’t able to incorporate Green Luminance at -20 and Orange Luminance at +18.
Here are the images side by side:
Camera Raw Sharpening +33 with No masking on the left and Camera Raw Sharpening +33 WITH Masking at +100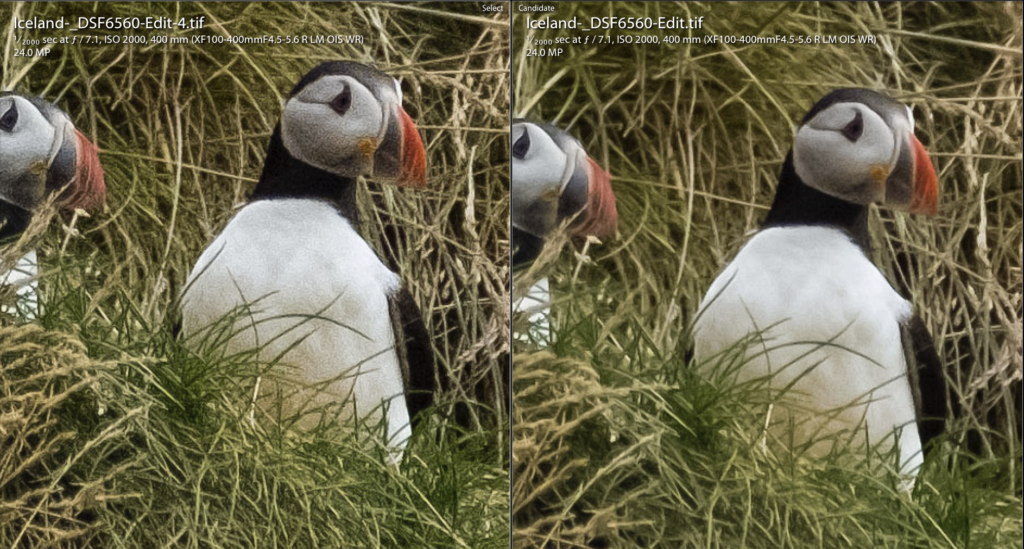
Iridient Developer
Camera Raw image processing with Iridient Developer sharpening on the left and Iridient Developer processing and sharpening on the right.

Obviously, which is more pleasing is 100% subjective, but for me, I think that the Camera Raw processed with Sharpening and Noise Reduction in PS resulted in the most pleasing overall result.
I will continue to test this out on other images. But at this point, I don’t see much benefit to changing up a well-oiled and honed process.
![]()
